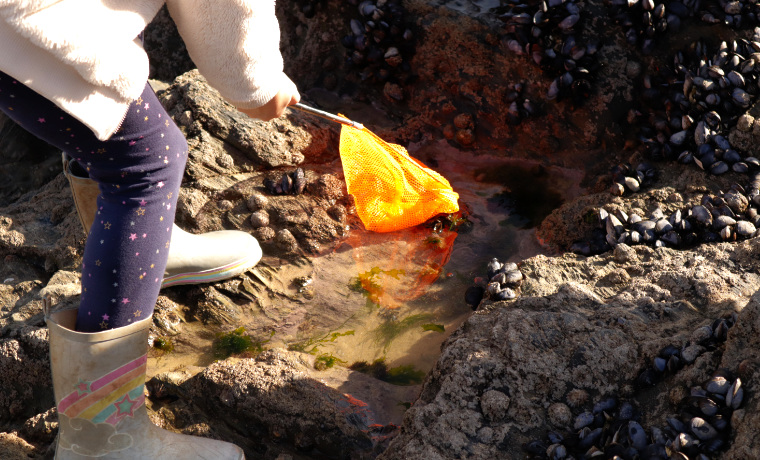
Ever wondered how children can be so captivated by pools of water on the seashore? What is it that makes them gaze and paddle and pick for hours without distraction? Welcome to the wonderful world of rock pooling! It’s such a simple activity that can easily fill a whole afternoon. It’s also a wondrous way to get a sneaky peak at the amazing and bizarre underwater world on rocky shorelines.
In this guide you’ll discover just how easy it is to go rock pooling, what you need to do it and what you might discover while you’re at it!
- About rock pools and rock pooling
- When and where to go rock pooling
- Rock pooling safety and hazards
- Rock pooling equipment
- How to go rock pooling
- 7 rock pool creatures to look for
- 5 rock pool plants to look for
- What to wear rock pooling in summer
- What to wear rock pooling in winter
- Rock pooling books and resources
A bit about rock pools and rock pooling
What is a rock pool
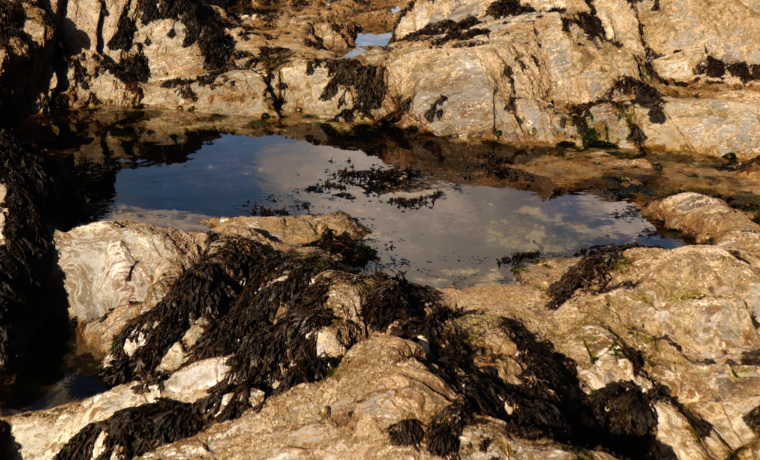
Rock pools are small pools of water in between rocks, typically found on the shoreline. They are also known as tidal pools. This is because seawater tends to fill up the pools as the tide comes in and is then trapped between the rocks as the tide retreats, creating a unique environment for sea life to thrive.
What is rock pooling?
Rock pooling is the act of discovery and observation in tidal pools. But there’s no set way to go rock pooling. Some like to just sit and watch whilst others like to get fully submerged, face mask and all, to get right in amongst the action. Rock pooling can be netting fish and crabs to identify them before putting them back. It can be turning over rocks to see what’s below. It can be searching for specific species and ticking them off an identification chart. Or it can be simply watching to see the comings and goings of these tiny marine ecosystems.
However you like to go rock pooling, the common theme is one of curiosity and discovery, no matter your age!
Why are rock pools so important?
Tidal pools are an integral part of marine and coastal ecosystems and there are many reasons why rock pools are so important.
“Rock pools are a harsh environment with conditions changing all the time with the tide, temperature and salinity” says Josh Symes, a Newquay Marine Group volunteer. However, they also provide areas of shelter for some species which take up permanent residence, whilst others come and go with the tide.
Rock pools are a great place for us humans to easily explore the marine environment!
Other reasons why rock pools are so important, according to Josh, is because “they act as a nursery to loads of juvenile fish and crab species as well as providing foraging areas for birds”. That’s a bit of a double-edged sword for some species; they reap the benefits of protection from the rock pools but also provide easy pickings for grazing gulls and birdlife! But that’s all par for the course and it balances out overall.
Finally, and most importantly for budding marine biologists, Josh reminds us that “rock pools are a great place for us humans to easily explore the marine environment!”
When and where to go rock pooling
Not all beaches are good for rock pooling. So before you hit any old beach ready to delve into the underwater mysteries of rock pool life, be sure to do some research.
The best beaches for rock pooling need to have a large tidal range and tend to be flanked by cliffs or rocky outcrops. Think coves and sheltered bays rather than big expanses of sand. This list of UK rock pooling beaches is a good place to start.
Once you’ve found your beach, you then need to consider a few other things:
Tides
Tides are the most crucial thing to consider when planning a rock pooling outing. There’s no use hitting the beach at high tide and expecting to be able to access the pools; they’ll all be under water!
The best time to go is once the tide is already halfway out (mid tide) and is still going out. This allows you time to access the lower shore as the tide retreats without having the pressure, and potential danger, of getting off the beach before the tide comes back in.
If you want to access the lowest of the low tidal zone then it’s best to choose a spring tide. Spring tides occur twice every month when the sun, moon and earth are in alignment and the gravitational pull on the water is strongest. As well as extra low tides, spring tides also bring extra high tides.
It’s key to remember that during spring tides, the tide comes in more quickly than on a neap tide. So don’t get caught out!
Check your local tide times here.
Access
The next thing to consider when planning your day rock pooling at the beach, is the access to the pools. Many rock pools can be easily reached by walking straight from the beach. However, it may be that you need to clamber down or over rocks to reach them. In this case, it can be very easy to get cut off from the beach or your access off the shoreline by the incoming tide.
To avoid getting cut off by the tide ensure you know the tide times and keep a very close eye on the water as it starts to creep closer to the shore. The very best way to minimise this risk is to leave the rock pools as soon as the tide reaches its lowest point.
Weather
One of the best things about rock pooling is that you can do it in almost all weather. However, as with most outdoor activities, the weather can still have an impact on where and when to go rock pooling.
The main thing to consider when it comes to the weather is your own comfort. If you’re wearing waterproofs then a rainy day of rock pooling isn’t too dissimilar to a dry day. But if it’s super windy, as it often is at the coast, then you may want to seek out a sheltered bay or cove where you won’t get battered and blown from all angles!
Rock pooling safety and hazards
Though it’s certainly not classed as an extreme sport in any way, there are some fairly serious risks to rock pooling, especially if you are in charge of little ones.
Tides
As mentioned above, getting cut off by the incoming tide is a big risk and it can be life-threatening. It is also very easy to do if you are not aware and prepared. Be sure to know the tide times and keep a close eye on your watch and the water levels.
TIP: It’s easy to get distracted by the wonders of the pools so if you are worried this might happen then set an alarm on your watch or phone to remind you when low tide is.
Water
Rock pools can vary from only a few centimeters deep to over a couple of meters deep. And though it may seem unlikely, a tiny tot tripping over into even a shallow pool can be at risk of drowning. But don’t let this put you off. Just be sure to keep a close eye on little ones and ensure there is enough adult supervision for the number of kids you are in charge of.
TIP: If you are rock pooling with older children, then discourage them from going into pools where they will be out of their depth. Two feet on the bottom of the pool at all times.
Slippery rocks
The next big rock pooling hazard is those sneaky wet rocks, which are sometimes not slippery at all, whilst at others they are a veritable death trap!
TIP: To avoid tumbles and spills, try to tread on the dry rocks as much as possible or test out each wet rock before you commit your full weight to it. It’s also a good idea to steer clear of seaweed covered rocks as these can create comic-like banana peel slips!
Crab nips!
If you are keen on seeking out and handling crabs then you should learn how to hold them correctly to avoid getting an unexpected nip. You should also avoid delving around underwater with your hands if you can’t see what’s lurking!
TIP: If you do get nipped by a crab and it’s holding on tight, then gently lower your hand back into the water and it should let go immediately.
Sharp rocks
It’s always best to go rock pooling with shoes on to protect your feet from sharp rocks. But some rocks are also covered in barnacles or other sharp shells which can easily cut your skin if you fall or lean on them. Take care where you place your hands when scrambling over rocks.
TIP: If you do cut yourself on barnacles then it’s really important to wash the wound with fresh water as soon as possible to clean out any foreign bacteria.
Rock pooling equipment
You can go rock pooling without any equipment at all. And the more you read on, the more you’ll realise that rock pooling is as much about watching as it is about catching! However, if you want to get a really good look at some of the rock pool creatures you might find, then a few key bits of rock pooling equipment might be worth taking along.
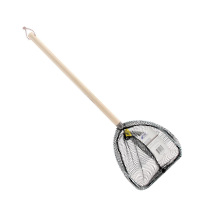
Net
A small rock pooling net allows you to gently scoop up fish and crabs to put into your bucket. Just be careful that the crabs don’t get their legs caught in the net. Try to find a net with a wooden handle.
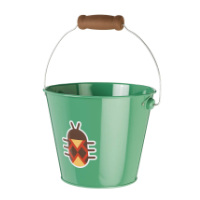
Bucket
A small bucket with a handle enables you to collect a couple of things at a time to compare and identify them. Add some water, rocks and weed to make whatever creatures you capture feel as at home as possible. And always return them to where you found them once their inspection is over.
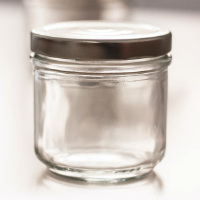
A clear jar
Unless you have a clear bucket, taking along a clear glass jar is an excellent way to really have a close look at whatever you manage to find. Fill it with water and enjoy gazing at your coastal curiosities from all angles through the slightly magnified glass.
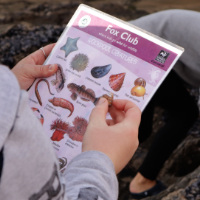
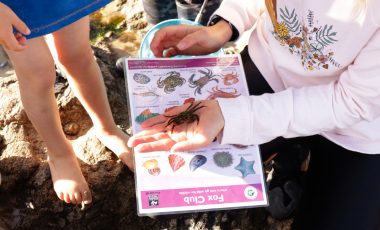
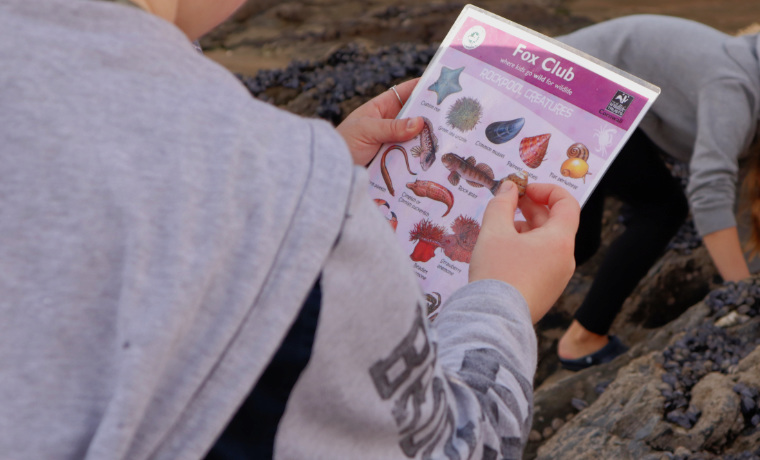
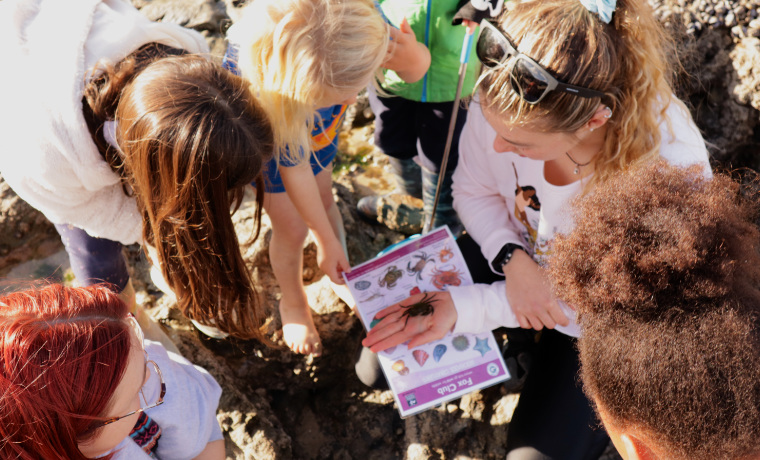
Rock pool identification chart
A simple rock pool identification chart is a great idea if you are new to rock pooling. These are also great for kids and will help hold their interest for longer, though that’s not usually a problem! Once you’re familiar with all the common rock pool creatures and plants, you may want to consider a rock pool wildlife book to further expand your knowledge. See below.
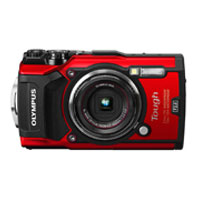
Camera
Taking a camera rock pooling is by no means essential. However, it can be a fun way to record your findings and if you have a waterproof camera then developing your underwater photography skills can be very satisfying. Additionally, a camera is useful if you find something you can’t identify. Your photos will help you ID it at home.
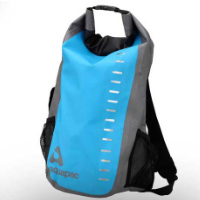
Backpack
If you’re carrying a few things or have layers then it may be a good idea to bring a backpack. Having both hands free when rock pooling is a must, on many levels! And if you’d rather not carry a backpack the whole time then I highly recommend opting for a waterproof backpack or dry bag that you can leave in damp spots.
How to go rock pooling
Advice from Josh at Newquay Marine Group.
We’ve covered everything you need to know before you go rock pooling, so now let’s get to the fun part: how to go rock pooling!
As mentioned, there’s no set way to go rock pooling. Just wandering around gazing into the pools to see what’s there is a connection enough for some. However, to get the very best out of your time pootling in the pools here are some top tips:
7 expert rock pooling tips
- Always go on an outgoing tide. Spring tides are the best as the most water movement happens here exposing a lot of the lower shore.
- Patience is a virtue! Sometimes just sitting and waiting for animals to come to you is the best trick. This allows animals like fish and crabs to become comfortable with your presence.
- Take pictures. Make sure to take pictures of anything you can’t identify so you can find out later what it is.
- Never take anything from the pools. As tempting as it may be, you should never bring anything back from the beach to your home. Leave things in their natural environment.
- Treat animals with respect. Make sure that all the awesome creatures and their homes are left exactly how you found them!
- Go searching! Intertidal animals love being wet and moist, so the best places to look for these animals are in holes, crevices, rock overhangs and under rocks.
- Look after your hands! When searching for rock pool creatures, make sure to never stick your hand somewhere you can’t see as there might be a pinch at the other end!
7 rock pool creatures to look for
Shore crabs
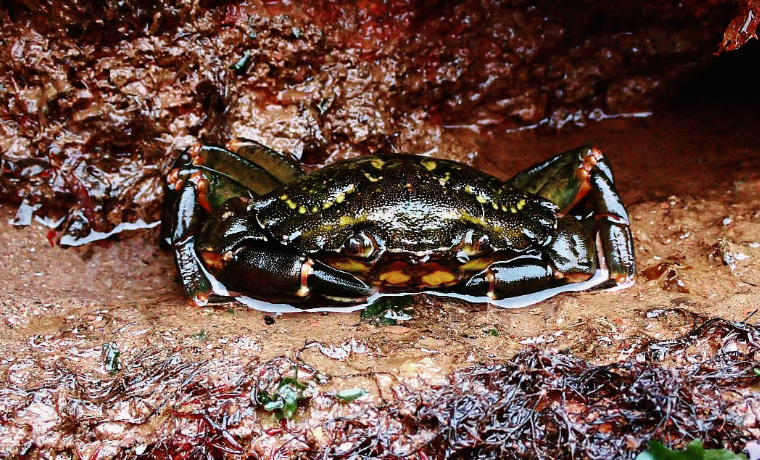 Shore crabs grow to around 9cm and are the most common crab on UK shores. They are greenish in colour and, like snakes, they shed their shells as they grow. So if you see what looks like a dead shore crab then take a look inside and you may find that it’s completely empty. The crab will have left the shell behind and continued growing. (Photo by Guy Heath)
Limpets
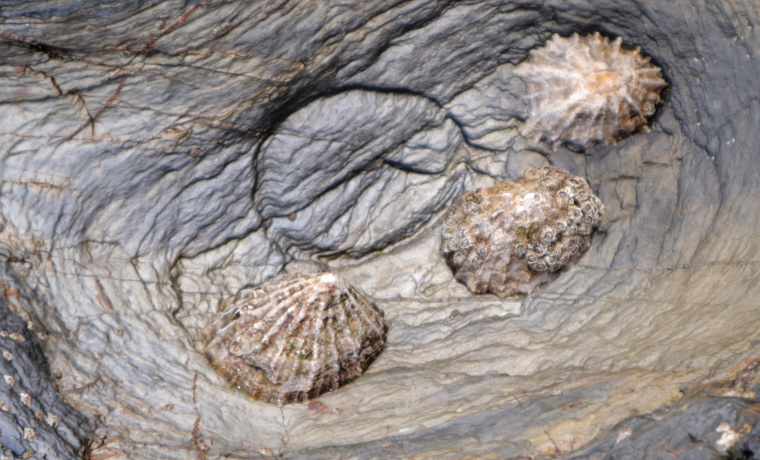 These common molluscs that live inside a cone-like shell are found in abundance on most rocky shores. They can live for up to 14 years and create a scar on the rock where they suck onto. When the tide is low they suck onto the rock to create a seal inside the shell. This keeps water inside the shell and allows them to breathe until the tide comes back in. Once they’re submerged, they move around the rocks feeding on algae, always returning to their home (the scar on the rock) before the water retreats once again.
Sea anemones
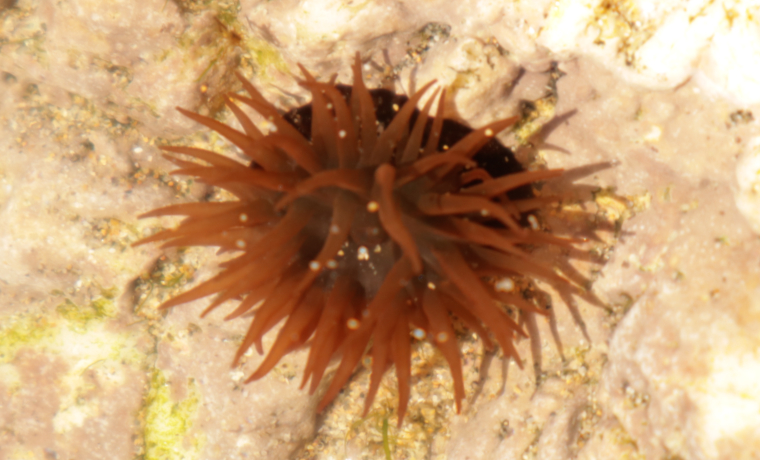
 Much like limpets, anemones seal themselves up when they are above the water line. They draw in all their tentacles to keep water inside them so that they can breathe. So they look very different above and below water. Under water, they have hair-like tentacles that flow in the water. When you touch them they suck your finger slightly, thinking you might be a tasty treat to nibble on!
There are a few different types of anemone to seek out then you’re next rock pooling:
Snakelock anemones
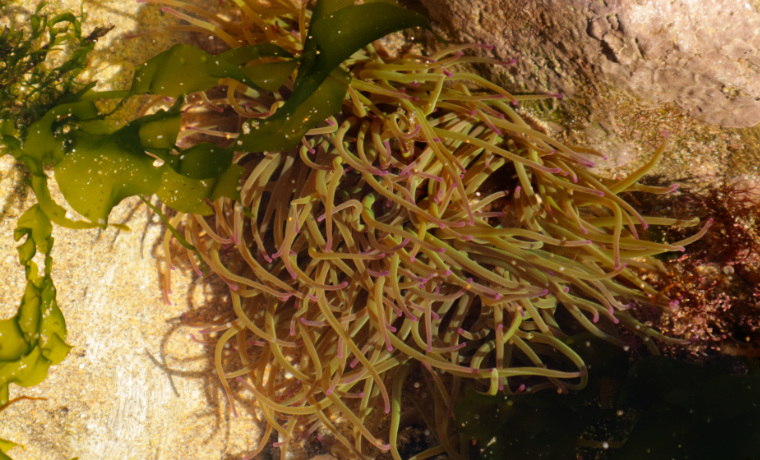 These are green with flowing tentacles and are usually found underwater and in groups. They like to be in sun-facing rock pools to photosynthesise.
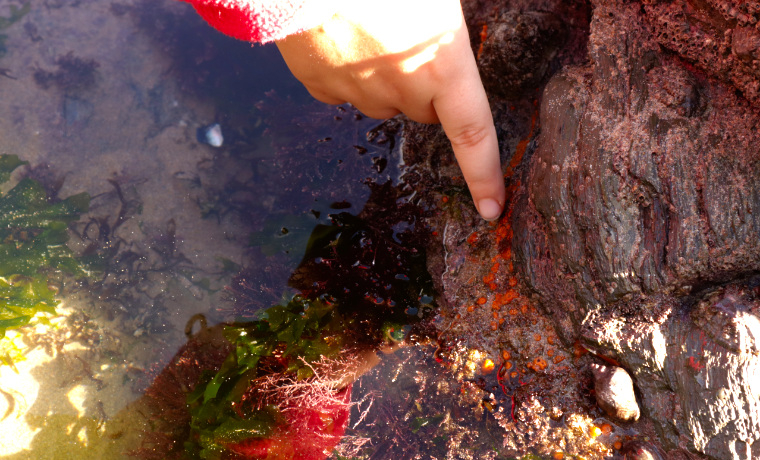
Beadlet anemones
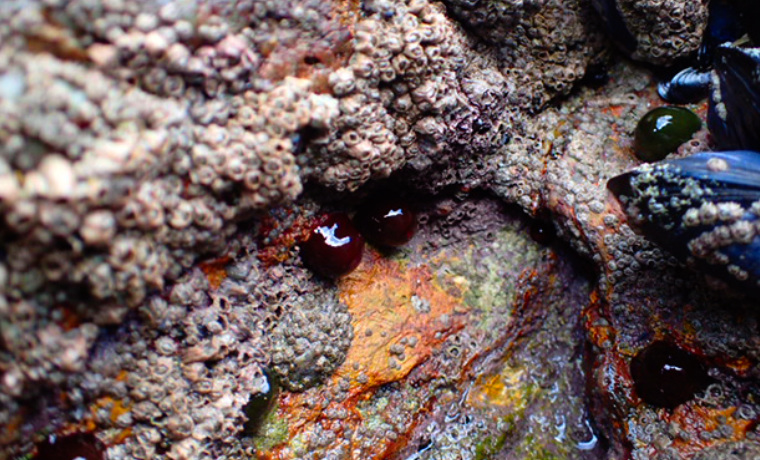
 Beadlet anemones are either deep red / burgundy or a green colour. When above water they look like little shiny, rounded blobs and are often found in groups in protected creavasses in rocks. When below water, they release their tentacles which makes them look quite different.
Strawberry anemones
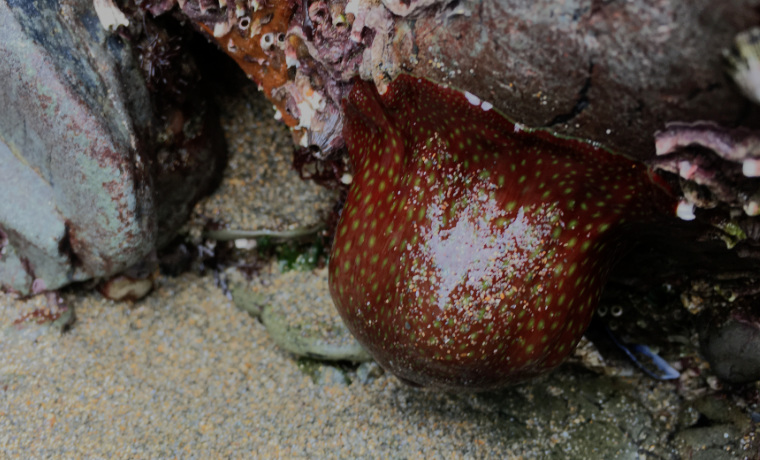 These anemones are much like beadlets only with little markings on them which make them look just like strawberries! They’re usually a bit bigger than beadlets and tend to droop off the rock.
Common prawn
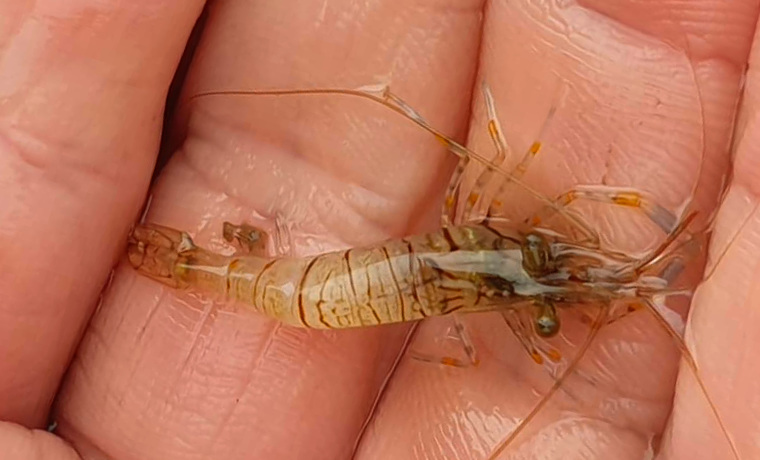 You’ll be fairly unlucky if you don’t spot a common prawn or the very similar rockpool shrimp when rock pooling. They are highly abundant and can grow up to 11cm! That said, there are also tiny ones that are almost see-through and they dart around in pools rather quickly! So although there are lots of them around, you’ll need to be patient and still to find them. If you’re struggling to spot one then try turning over a rock. (Photo by Caitin Parrott)
Starfish
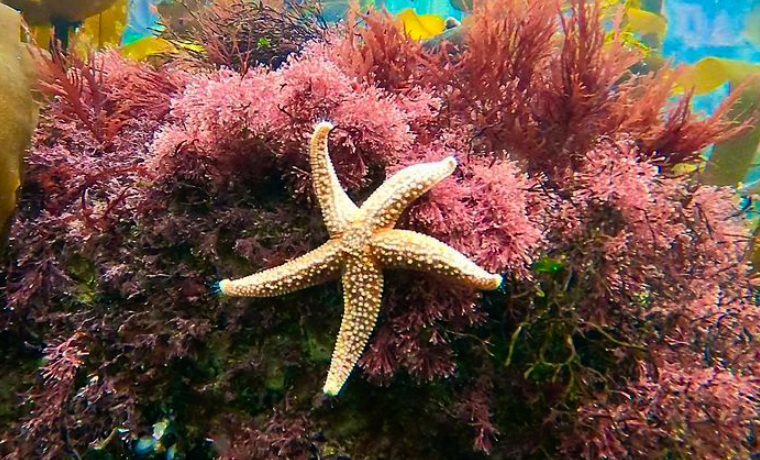 Starfish usually have 5 radiating arms, though some have more. If you come across a starfish while rock pooling then it will most likely be the orange-brown coloured common starfish. Despite their good looks, common starfish are actually brutal predators. They prize open shellfish, insert their stomachs into the shells and dissolve the insides with their digestive juices before retracting their stomach! Grim stuff! (Photo by Katie Maggs)
5 rock pool plants to look for
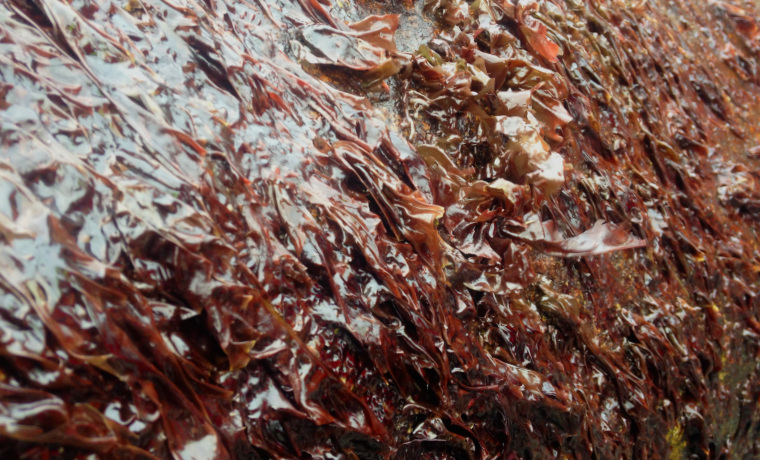
Coral weed
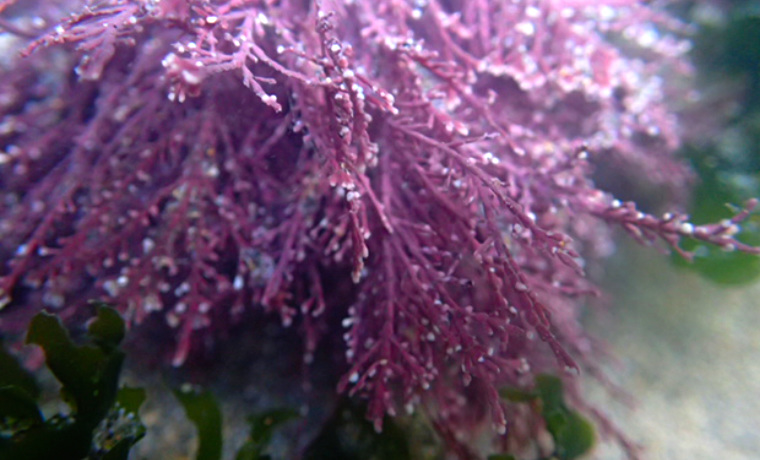 Coral weed is one of the most colourful rock pool seaweeds around and is easy to identify thanks to its unique pink chalky appearance. The fern-like fronds feel very different to most seaweeds with a stony, hard feel if you roll them in between your fingers.
Bladderwrack
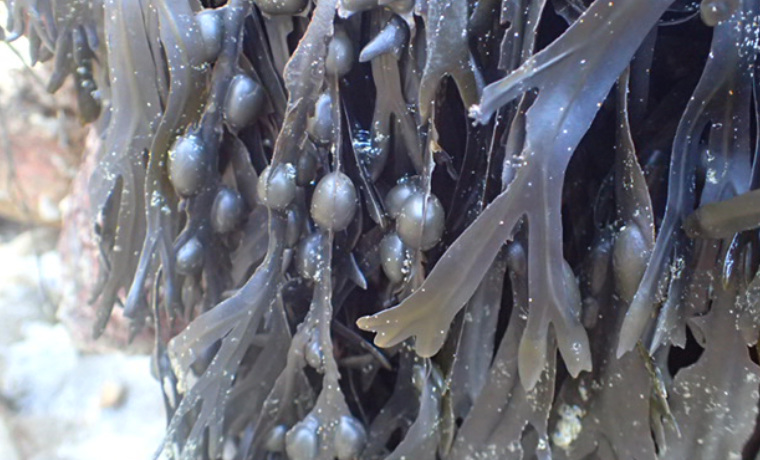 The seaweed with little bubbles (that you’ll want to pop!) is called bladderwrack. But it’s also known as popweed! At high tide, when the weed is submerged, the little air pockets keep the weed floating near the surface of the water so that it can photosynthesise more easily. It’s pretty good to eat if you pickle it and it’s also used in medicine to treat iron deficiency.
Sea lettuce
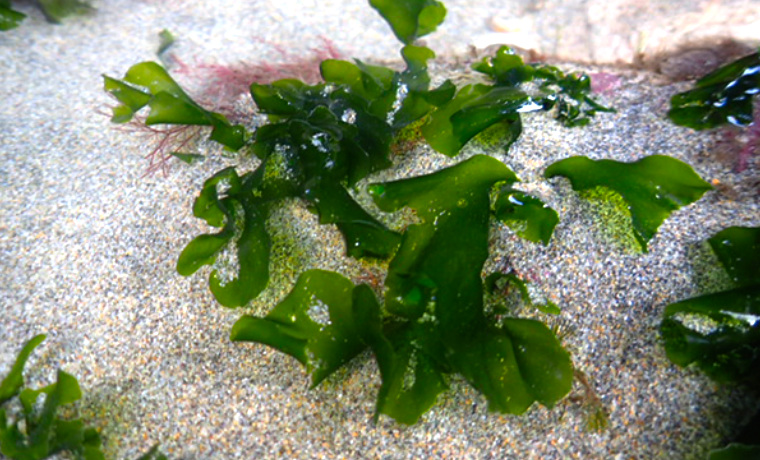 Sea lettuce is a vibrant green seaweed found in rock pools on the middle and upper shore. The wide and flat membranous weed is similar to gutweed, but gutweed is long and tubular. Sea lettuce is highly nutritious to eat and tastes really great when dried out or deep fried. Choose seaweed next time you have Chinese food and it’s most likely to be sea lettuce.
Irish Moss
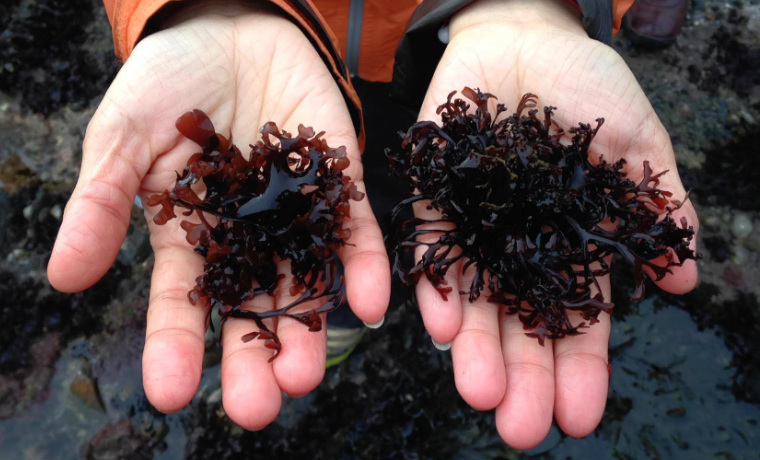 Ever eaten seaweed? No? Well, if you’ve ever eaten ice cream then it’s likely it had seaweed in! When processed, Irish Moss, also known as carragheen, is used as a thickener in loads of different processed foods. Look for E407 on the ingredients list – that’s seaweed! This red-brown seaweed is also high in protein, is antiviral and contains lots of vitamins and minerals.
Laver
 Laver is another membranous weed that is actually really good to eat. At low tide, look for rocks that appear to be covered in slick oil. This is laver! And despite it’s unappetising looks, it’s commonly used to make nori sheets in Japanese cuisine. Yes, if you’ve ever had sushi, you will have probably eaten laver! It can grow up to 5cm per day making it an excellent seaweed to forage so long as you cut it above the holdfast (base of the plant where it attaches to the rock).
What to wear rock pooling in summer
During the summer months, when the sun’s out and the air and water are warm, it doesn’t matter too much if your clothes get a bit wet from an over-enthusiastic plunge into a deeper than expected rock pool! Just make sure you have the ability to dry off with ease when you do start to feel the chill.
But to ensure that you’re the most comfortable you can be, here’s a quick guide on what to wear rock pooling in summer:
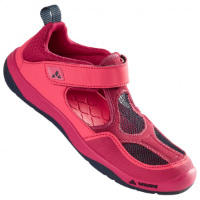
Water shoes
Appropriate footwear is the most important thing to consider and there are lots of options. Wetsuit boots, walking sandals, wellies and jelly shoes all work well. But you can also get dedicated water shoes which have good grip, are quick drying and let water flow in and out of the shoes.
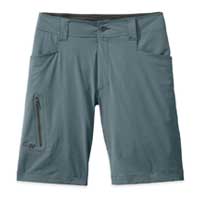
Quick drying shorts / boardies
Wearing shorts means you can do some proper paddling in the pools. But it’s best to avoid denim or cotton as these get heavy and uncomfortable when wet and they take ages to dry. Opt for quick drying sports shorts or board shorts.
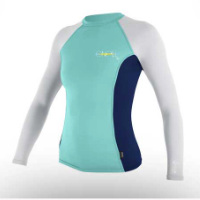
Rash vest or t-shirt
Any kind of t-shirt will do, so long as it provides some protection from the sun. Rash vests are good because they dry quickly. But they also usually offer high levels of UV protection.
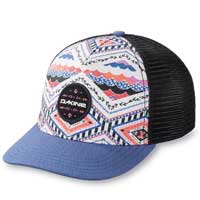
Sun hat and sunscreen
Not only will a sun hat keep your head and neck protected from the sun beating down on you, it will also shade your eyes. Looking into rock pools with sunglasses on doesn’t really work that well. But the shade from a sun hat will help to keep the glare out of your eyes. And of course, don’t forget to apply reef-safe sunscreen.
What to wear rock pooling in winter
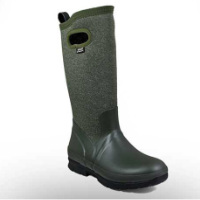
Wellies
Wellington boots are the greatest footwear for rock pooling during the winter. Not only do they keep your feet and lower legs warm and dry, they also provide some protection from what might be lurking below the surface of the water! Try to choose wellies that have a grippy sole, otherwise you might find yourself struggling on the rocks.
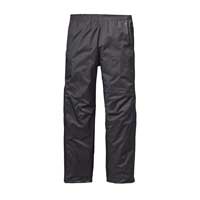
Waterproof trousers
Also known as magic trousers in our house, waterproof trousers are ideal for winter rock pooling. They keep you dry if it rains but they also fend off splashes from the pools and enable you to sit on wet rocks or kneel on soggy seaweed.

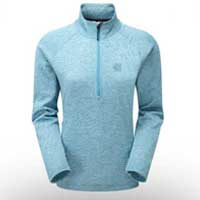
Warm or waterproof jacket
A waterproof jacket provides the best protection from the wind and rain as well as from wet rocks and splashes. But you’ll need to have warm layers underneath. Otherwise wear a warm jacket if it’s not raining.
Warm layers
Conditions on the coast can change very quickly so it’s always worth dressing in layers so that you can adjust your temperature easily. I always pack an extra layer for the times when I’m in observing mode and am more still therefore cooling more easily.
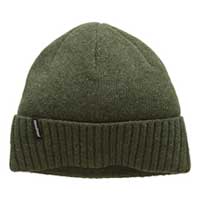
Hat
More often than not, there’s a breeze at the beach that can really get to your bones. But even if it’s not that cold, standing or crouching for prolonged periods in a light breeze can result in your temperature dropping more than you might realise. A wooly hat will help keep out the chill. And you can always put it in your pocket if you get too warm.
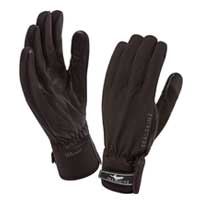
Gloves to put on afterwards
Rock pooling involves getting your hands wet. And if you’re anything like me then this will result in frozen fingers after a while! I always take a pair of cosy gloves or mittens to put straight on after I’ve been delving around in the seaweed, especially if I’ve got a way to walk.
Rock pooling books and resources
For those wanting to delve deeper into the wondrous world of rock pool life, these books come highly recommended:
The Essential Guide to Rock Pooling by Julie Hatcher
This is an in depth guide to everything rock pooling that is suitable for beginners, kids and more advanced rock poolers, alike. It’s illustrated with photographs and includes details on specicies identification as well as practical advice on how to go rock pooling.
Collins Complete Guide of British Coastal Wildlife
Though it covers more than just rock pool residents, this is an excellent guide if you want some help with identifying creatures and species. It features clear photo imagery and descriptions, but it’s a little on the dry and scientific side for kids.
Online rock pooling resources
These online resources are excellent for gathering more information about where and how to go rock pooling in the UK. They are also very helpful when it comes to species identification:
However you like to spend time exploring rock pools, may you do so with respect and curiosity!
Happy discoveries, happy rock poolers!
