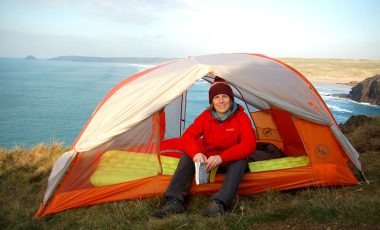
Traditionally bivouac is a term used by the military for a temporary camp utilising improvised shelters. In the modern parlance bivvying generally means sleeping outside without a proper tent. It is however much more than that – waking up as part of your surroundings and instantly seeing the spectacular views (hopefully!) or the stars from your bed. You just don’t get to experience with a tent. It also has the advantage of less faff than using a tent, which also means your bag is lighter! With Alastair Humphreys promoting the microadventure, which is almost synonymous with bivvying, more and more people are getting out there, and microadventure groups are now common place in many cities.
14 tips for your first bivvy in the wild
If you have never taken on a bivvy here are some handy tips to help you get started.
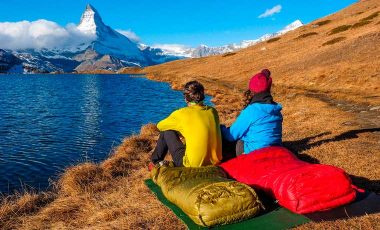
1Get in a bivvy bag
Being outdoors does mean there is the possibility of getting wet and cold so having the right gear is key to your enjoyment. So, the first piece of essential gear is a bivvy bag. There is a huge range of these from the most basic emergency survival blanket to much more comprehensive (and expensive) bivvy set ups.
The cheaper bags, while waterproof, are not breathable and so condensation accumulates inside the bag – translate you and your sleeping bag will be damp! A good starting point in terms of cost vs breathability/comfort is the Alpkit Hunka. Going for an XL bag will allow you to also fit your sleeping mat inside the bivvy BAG, which is my preference.
2Choose a good sleeping bag
Secondly, you’ll need a decent sleeping bag – exactly what depends on when and where you are going. You obviously don’t want a 4 season down bag if you’re going to Spain in the summer! But being warm enough is key to getting a good nights sleep in the great outdoors. If you’re wanting a down bag please try and source ethically produced down. Both Alpkit and Western Mountaineering provide such bags, amongst other brands.
3Stay warm from the ground up
Thirdly, bring a warm sleeping mat. Again there is huge variety on the market but a sleeping mat not only ensures you have a softer spot to lie on, it also provides insulation from the cold ground. Unless it’s very windy, you will lose more heat through the ground than from above. It’s worth spending a little more on a good sleeping mat, as even a great sleeping bag won’t provide as much warmth with a sub-standard mat beneath you. Check out this guide to the best sleeping pads for backpacking to get an idea of what’s available.
4Borrow or rent your gear
I appreciate that shelling out for all of the above soon mounts up, so if you’re trying it for the first time and are not sure you will like it then ask around and see if friends have gear they wouldn’t mind you borrowing for a night. Alternatively, there are companies out there which allow you to hire gear.
5Check the weather
Before you go, always check the weather for the whole period you are out in the wilds – if it’s going to be torrential rain all night you may want to reconsider. I’m not saying don’t go, as all that happens when it rains is you get wet! But in terms of enjoyment, being wet and cold isn’t at the top of most people‘s list!
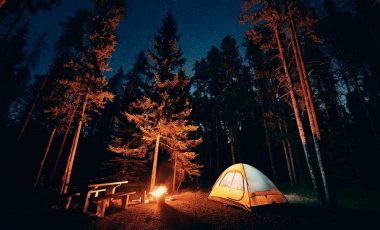
How to choose a great bivvy spot
So, how do you choose a bivvy spot? Well it depends on where you want to go. Some people do multi-day bivvys, whereas others will do what’s known as a ‘5-9’ in the microadventure world. This basically means getting out there mid-week on a much shorter, closer to home bivvy. Basically, a bivvy trip doesn’t need to take a lot of time to plan or actually do, but it will give you a sense of freedom and adventure. Wherever you go there are a few basic principles to consider when choosing the ideal spot.
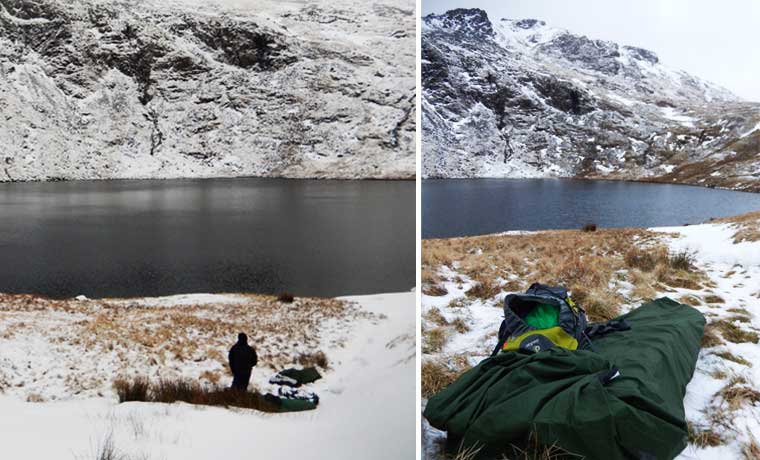
6Choose somewhere flat
You ideally want a flat spot. This is much easier to find compared to looking for a place to pitch a tent as the space required is much smaller. Bivvy bags can slide a bit on some sleeping mats so a flat spot will stop this happening.
7Find natural shelter
Find a sheltered spot, essentially from the wind. This can be next to dry stone walls, trees, a hollow in the ground, in a cave or by some rocks.
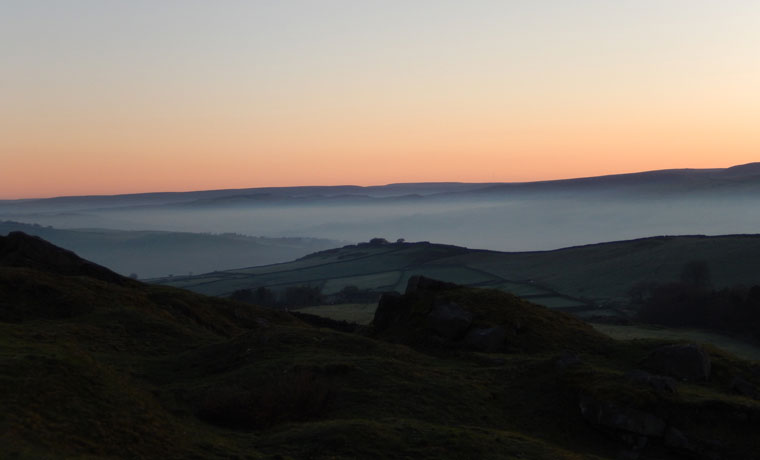
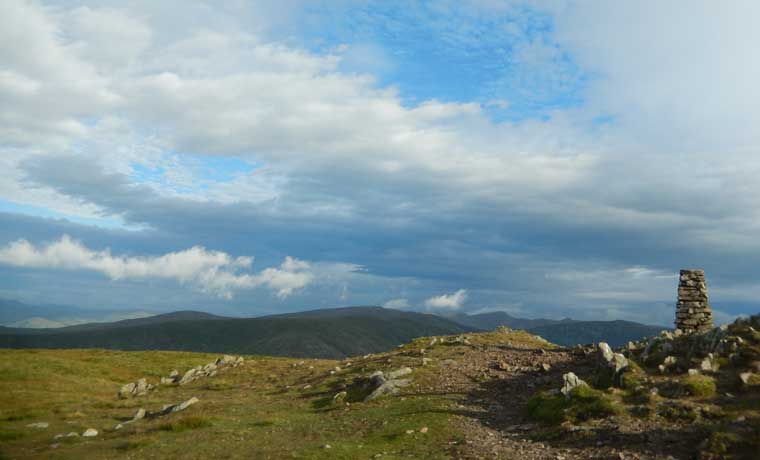
8Make sure the view is great!
If possible, you want to be somewhere with great views. My favourite is being up high with 360 degree views so you get both the sunset and the sunrise. Even being up high you can usually still find some sort of shelter. Red Screes in the Lake District, UK, is a good spot for this with awesome 360 views. But it also has various rocks, dips in the ground and a short dry stone circle that is perfect for sleeping in.
Other things to consider
9Access to water
Make sure you have access to enough water for the time you are out, including for cooking, either by carrying it or knowing where you can fill up. I always take a stove with me for the very important morning cup of tea (at least for me anyway!).
10Food
Food wise I usually take something really simple like cuppa soup and cheese or an army ration pack which you just have to boil in water for 7 minutes and then eat it out the bag. A wee dram of whisky is also good before bed! For breakfast I take porridge which only needs water adding to it, but just a cereal bar will do the trick if you don’t have too far to go. For more ideas on what food to take look at this backpacking food article.
11Rain precautions
Once you have found your spot and are settling in for the night, make sure you have put the rain cover over your rucksack (which can also double up as a pillow) and turned your boots upside down. If it does rain you don’t want to be putting on wet boots in the morning! Alternatively, bring a waterproof bag or bin liner and put your stuff in there.
12Nighttime habits
Have your head torch handy before you go to sleep, and keep your walking boots easy to grab in case you need the loo in the night! If you do get up in the night make sure you close your sleeping bag back over so you don’t lose the heat you have already generated in there – you’ll appreciate it when you get back in!
13Remember to enjoy it!
Most important, enjoy the experience. Enjoy being part of the outdoors and waking up seeing the stars and the sunrise from your bed.
14Leave no trace
In the morning when you set off, turn round and look at your bivvy spot just to check that there is absolutely nothing to show that you have been there – “tread lightly on this earth”.
Key bits of gear for a successful bivvy
- Bivvy bag
- Sleeping bag
- Sleeping mat
- Bin bag – to take all your rubbish away with you
- Head torch
- Extra pair of socks for sleeping in
- Dry clothes for sleeping in
- Woolly hat
For more information about wild camping and how to do it discreetly and respectfully, take a read of these guides to stealth camping, camping at the beach and wild camping in Greece.
Or if you’d prefer an elevated wold camping experience then check out our guide to hammock camping:


