Hands down the worst part of backpacking and hiking is getting home and unpacking. The packing part is great – all your gear is clean and dry and neatly folded. And there’s always such unknown excitement about the adventure that lies ahead. But unpacking? Urgh. I hate it. Everything is damp and you’re always tired and just wanting to crash out. Which is exactly why my Camelbak hydration reservoir has been somewhat neglected over the years. Left for days or even weeks before I get round to cleaning it properly, by which time all sorts of foreign creatures have started to grow inside it.
After spending far too much time undoing my the damage caused to my water bladder, my cleaning habits are much more thorough. So read on for some tips on how to clean a Camelbak hydration reservoir that will hopefully prevent you from having to do deep cleans more often than you should need to.
How to clean a Camelbak hydration reservoir
If you’re serious about getting your water bladder clean, then it might be worth getting yourself a Camelbak cleaning kit, or at the very least some brushes. These will really help when it comes to deep cleaning and mold removal. We’ll come onto that later. In the meantime:
Hang dry
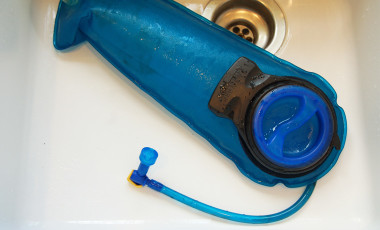
If you’ve only had water in your Camelbak, then cleaning should be fairly straightforward. After every single use, rinse through with hot water and then hang dry for a few days with the lid open. To properly open it up, place a couple of q-tips or something similar inside the water bladder to prevent the sides from sticking together and to get more air inside the bladder.
Store in the freezer
It’s pretty difficult to totally dry out the hose of your Camelbak so once it’s been hanging out for a few days, stick it in the freezer. This will prevent anything bad from growing in the depths of the damp tube.
Deep clean
Every few uses, it’s a good idea to give your Camelbak a more thorough clean. If you’ve been using anything other than water inside it, then this is especially important as residue from sugary sports drinks are a hotbed for bacteria growth. Here’s how to clean a Camelbak to prevent mold from growing inside it:
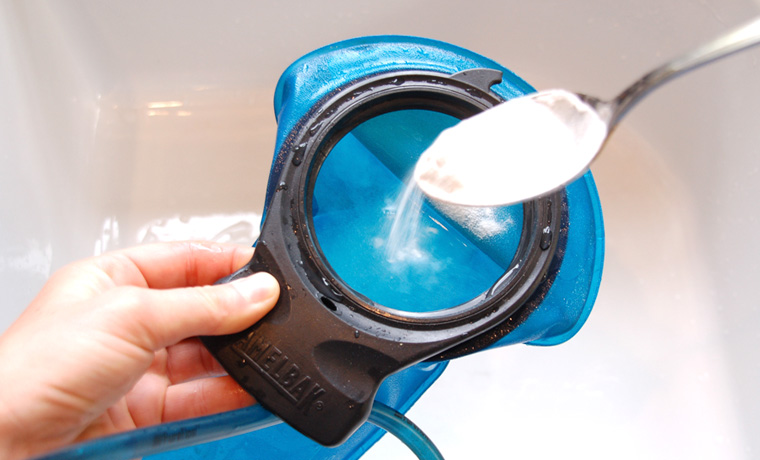
- Fill the water bladder with hot water and mix in two tablespoons of baking soda. Camelbak also have cleaning tablets that work just as well, but it will get expensive if you are using these regularly.
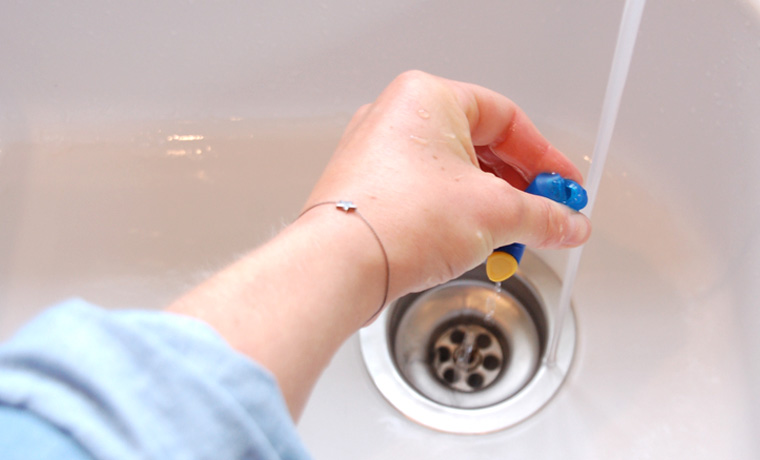
- Lift the bladder up high and squeeze the valve to let some of the water run right through the hose.
- Then close the lid and leave the solution to soak for 30 minutes or so.
- Empty the bladder and rinse it thoroughly with hot water and mild soap, then hang dry for a few days before putting it in the freezer.
Disinfect and scrub
If you’ve gotten lazy with your Camelbak cleanliness (or just hate the unpack like me!), then it’s inevitable that at some point you’re going to have a mold problem. Removing this is essential before you use it again. So here’s how to clean a Camelbak water bladder with mold growing on the inside:
- Fill your bladder with hot water and add two or three tablespoons of bleach, depending on the size of the bladder.
- As above, squeeze the valve to let the water run right through the hose, then leave the bladder to soak over night.
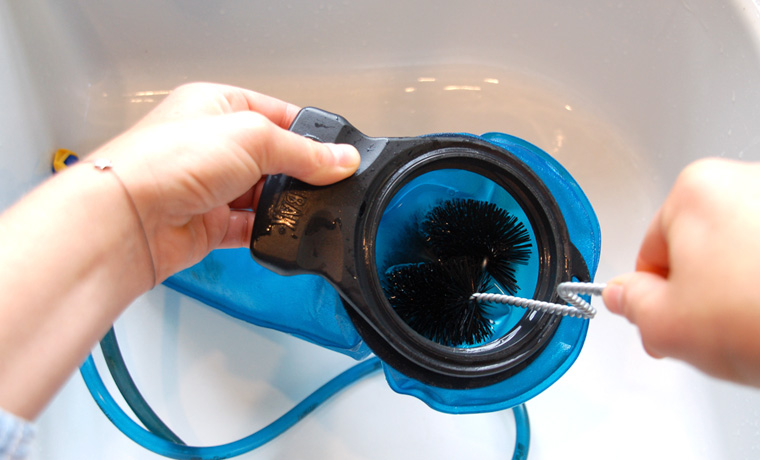
- Thoroughly rinse with hot water and mild soap and if needed, scrub the inside with a scourer or Camelbak brush to remove any stubborn mold stains.
- Some stains might not budge, but if you’ve cleaned and bleached it, these will probably be a permanent but not harmful new feature to your Camelbak.
How to clean a Camelbak hose


I’ve tried various DIY methods to clean my Camelbak hose, but nothing comes close to doing the job properly than using a Camelbak hose brush. If there is mold in the hose, then disinfect as above, and then do the following:
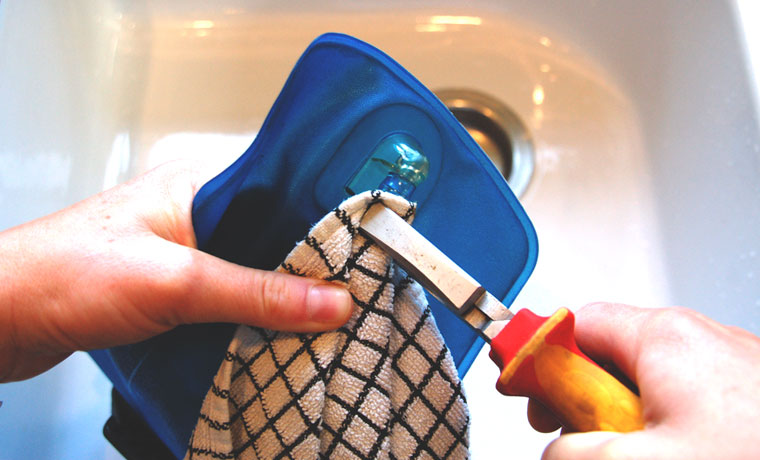
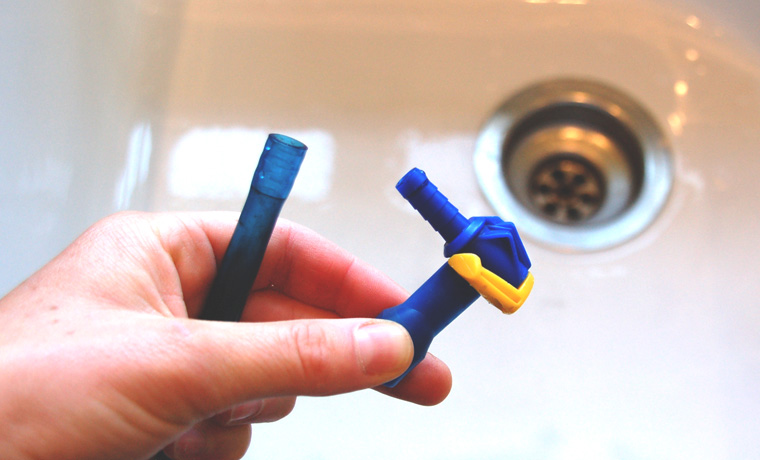
- Remove the hose from the water bladder. If this is tricky then you may need to use plyers and a damp cloth (to protect the tube) and gently wiggle the hose out of its socket.
- Remove the bite valve at the other end of the hose.
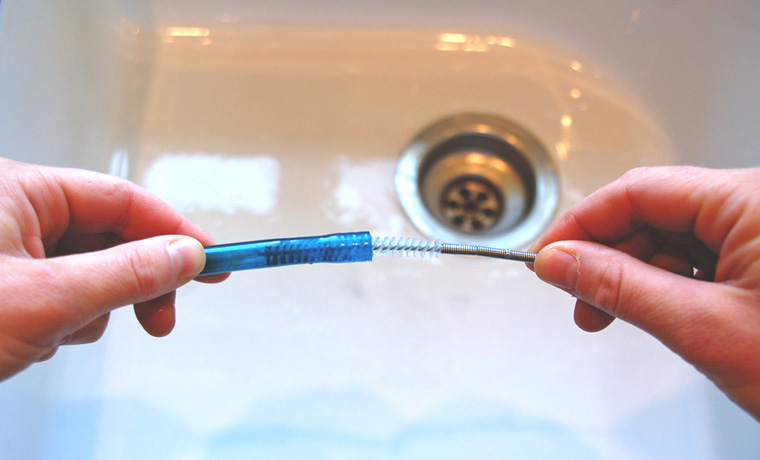
- Wet the hose brush and insert the brush until it is a far down the tube as possible.
- Pull the brush out, clean it off and then repeat at the other end of the tube.
- Repeat the process until the hose appears clean.Rinse the hose with hot water and then leave to drip dry before reconnecting it to the bladder.
How to clean a Camelbak bite valve
As with the hose, it can be tricky to fully dry the bite valve after each use, making it susceptible to mold build up. To clean a Camelbak bite valve do the following:
- Remove the valve from the hose by gently twisting and pulling.
- Clean it by hand with hot soapy water, or put it in the top shelf of the dish washer.
- Don’t be tempted to force the cleaning brushes into the slit of the valve as this can damage it.
- Rinse thoroughly and leave to dry.
How to clean a Camelbak backpack
Since you’re in the mood to get everything all squeaky clean and ready to get dirty again, you may as well give your backpack a spritz too! Here’s how to clean a Camelbak backpack:
- Wipe off any bits of dirt or mud with a warm, damp cloth.
- For something that is super dirty and covered in mud, you’ll need to soak the backpack in warm water with a very mild soap.
- Once the dirt has softened, give the back another wipe down.
- Rinse thoroughly making sure all soap residue is removed.
- Hang up to dry.
A last resort
If all else fails and the mold has truly taken over your hydration world, you may need to consider getting a new bladder or perhaps just replacing whichever component is beyond repair:
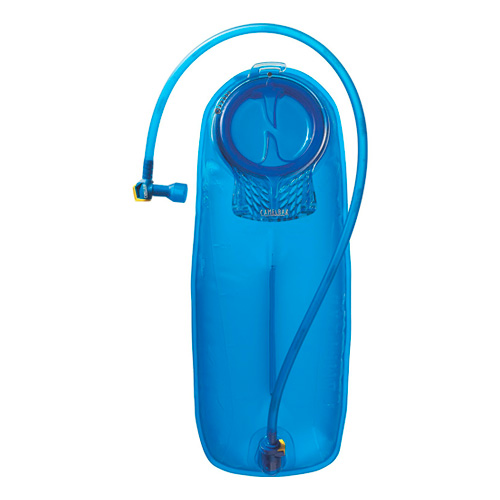
Camelbak Antidote Reservoir
This full featured 3 litre reservoir has a new quick link system for the hose attachment and also integrated dryer arms that fold out easily to increase airflow when hanging it out to dry.
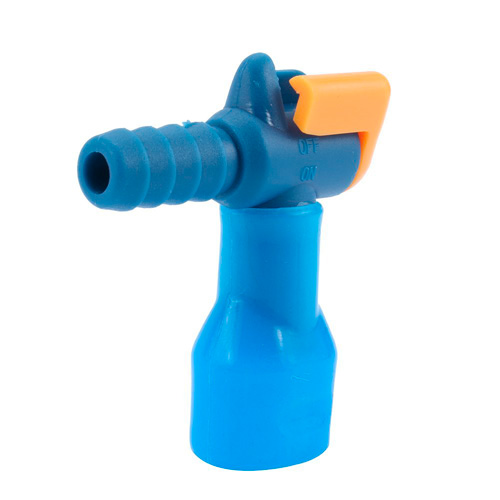
Replacement bite valve
If deep cleaning doesn’t cut it then these are much cheaper to replace than the whole reservoir.
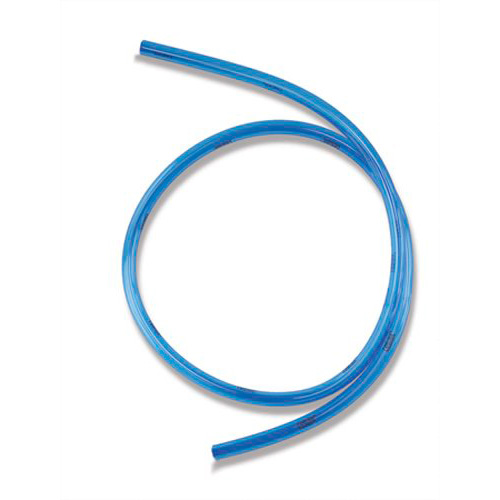
Replacement hose
This is the component that is most likely to need replacing due to mold infestation. See above for tips on how to remove the hose.
